 Deutsch (Deutschland)
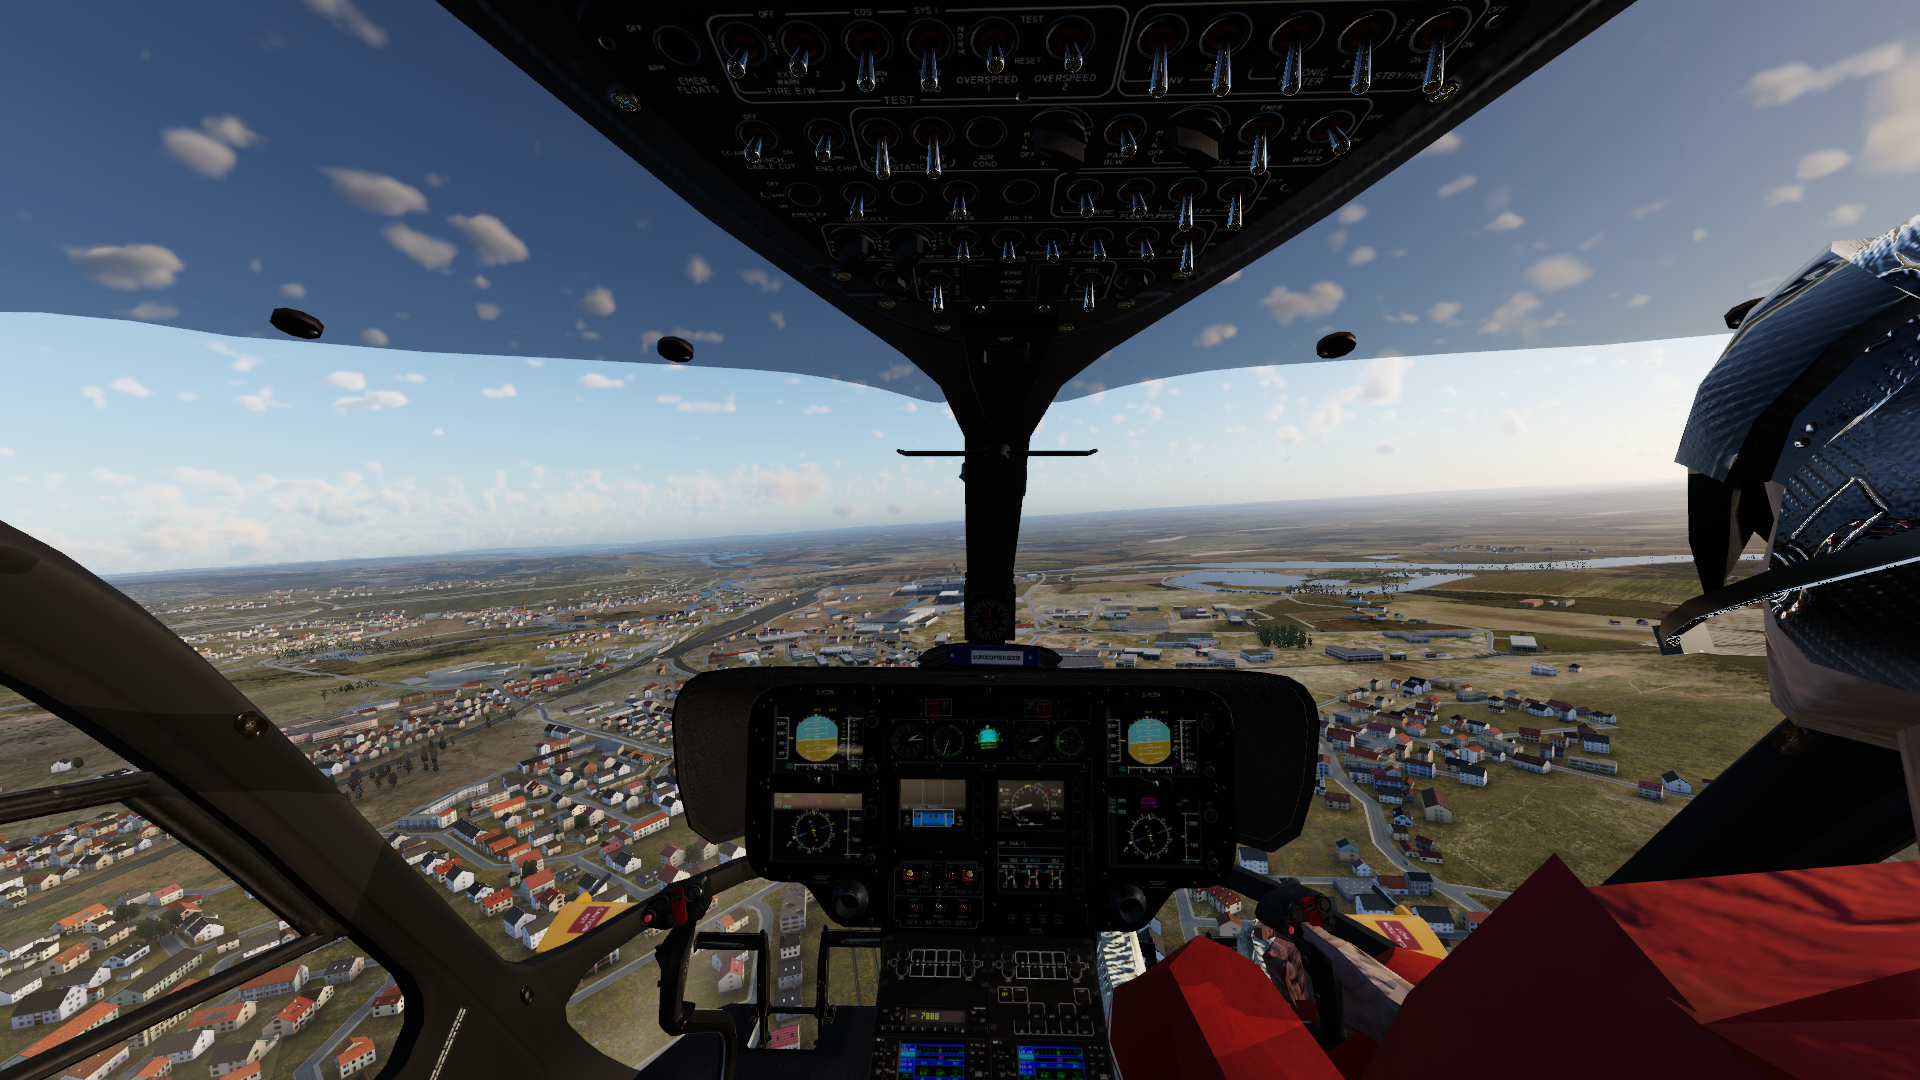

This Appendix is valid only for
We recommend the hardware from, simparts which is optimally matched to our software.This makes it particularly easy to build the home cockpit. Of course, the connection to the hardware can also be established in other ways, namely directly via standard USB joystick controllers such as the BU0836. This solution is particularly inexpensive and is ideal for hobbyists who really want to tinker everything themselves. The necessary basic knowledge is imparted in the following.
Connection of buttons and switches
Unless the CAN bus solution from simparts is used, the EC 135 Pro offers the option of connecting all important buttons and switches via standard USB joystick controllers such as the BU0836. To do this, the software generates special custom commands that can be assigned to the individual ports of the controller. In order to influence the performance as little as possible, we differentiate between different types of switches. These are optimized in such a way that as few contacts as possible are closed in normal flight conditions.
- Push Button. As usual, the contact is closed as long as the button is pressed.
- ON switch. As usual, the contact is closed when the switch is in the on state.
- OFF switch: The contact is closed when the switch is in the OFF state.
- 3 pole switch (e.g. ENG switch). The corresponding switches usually have two each one closed contact in the extreme positions. Accordingly, you need two ports of the joystick controller. The software provides two custom commands for each of these switches. In centered position there is no command. This position is recognized by leaving one of the of the other positions.
When wiring the panels, it is important to know which switches are of which type so that they are installed in the correct orientation.
| Designation of Button or Switch | Type | Command |
|---|---|---|
| Battery | 3 pole switch | ec135/panel/battery_ON ec135/panel/battery_RESET |
| GEN I | 3 pole switch | ec135/panel/generator_1_ON ec135/panel/generator_1_RESET |
| GEN II | 3 pole switch | ec135/panel/generator_2_ON ec135/panel/generator_2_RESET |
| ENG Main Switch I | 3 pole switch | ec135/panel/eng_1_OFF ec135/panel/eng_1_FLIGHT |
| ENG Main Switch II | 3 pole switch | ec135/panel/eng_2_OFF ec135/panel/eng_2_FLIGHT |
| FADEC I | OFF switch | ec135/panel/fadec_1_OFF |
| FADEC II | OFF switch | ec135/panel/fadec_2_OFF |
| Mode Select MANUAL I | ON switch | ec135/overheadpanel/manual_1 |
| Mode Select MANUAL I | ON switch | ec135/overheadpanel/manual_2 |
| Light A-COLL | OFF switch | ec135/overheadpanel/a_coll_OFF |
| CAD OFF | Push Button | ec135/cpds/cad_off |
| CAD SCROLL | Push Button | ec135/cpds/cad_scroll |
| CAD BRT+ | Push Button | ec135/cpds/cad_brt_up |
| CAD BRT- | Push Button | ec135/cpds/cad_brt_down |
| Vemd OFF 1 | Push Button | ec135/cpds/fli_off |
| Vemd OFF 2 | Push Button | ec135/cpds/elec_off |
| Vemd SCROLL | Push Button | ec135/cpds/vemd_scroll |
| Vemd RESET | Push Button | ec135/cpds/vemd_reset |
| Vemd + | Push Button | ec135/cpds/vemd_plus |
| Vemd - | Push Button | ec135/cpds/vemd_minus |
| Vemd BRT+ | Push Button | ec135/cpds/cad_vemd_down |
| Vemd BRT- | Push Button | ec135/cpds/cad_vemd_down |
| PFD Pilot OFF | Push Button | ec135/cpds/pfdpilot_off |
| ND Pilot OFF | Push Button | ec135/cpds/ndpilot_off |
| MFD Copilot BRT + | Push Button | ec135/cpds/pfdcopilot_brt_plus |
| MFD Copilot BRT - | Push Button | ec135/cpds/pfdcopilot_brt_minus |
| Light POS | ON switch | ec135/overheadpanel/pos_ON |
| Light STROBE | ON switch | ec135/overheadpanel/strobe_ON |
| Instrument LIGHT | 3 pole switch | ec135/overheadpanel/instrument_light_DAY ec135/overheadpanel/instrument_light_NVG |
| PRIME PUMP I | ON switch | ec135/overheadpanel/prime_pump_1_ON |
| PRIME PUMF II | ON switch | ec135/overheadpanel/prime_pump_2_ON |
| XFER F Pump | OFF switch | ec135/overheadpanel/xfer_f_OFF |
| XFER A Pump | OFF switch | ec135/overheadpanel/xfer_a_OFF |
| PITOT HTR I | OFF switch | ec135/overheadpanel/pitot_heater_1_OFF |
| PITOT HTR II | OFF switch | ec135/overheadpanel/pitot_heater_2_OFF |
| INVERTER | OFF switch | ec135/overheadpanel/inverter_OFF |
| AVIONICS I | OFF switch | ec135/overheadpanel/avionics_master_1_OFF |
| AVIONICS II | OFF switch | ec135/overheadpanel/avionics_master_2_OFF |
| STBY HOR | 3 pole switch | ec135/overheadpanel/stbyhor_TEST ec135/overheadpanel/stbyhor_ON |
| BUS TIE I | 3 pole switch | ec135/overheadpanel/bus_tie_1_NORM ec135/overheadpanel/bus_tie_1_RESET |
| BUS TIE II | 3 pole switch | ec135/overheadpanel/bus_tie_2_NORM ec135/overheadpanel/bus_tie_2_RESET |
| SHED BUS EMER | ON switch | ec135/overheadpanel/shed_bus_EMER |
| ICP ND Button | Pushbutton | ec135/icp/nd_pilot ec135/icp/nd_copilot |
| ICP PFD Button | Pushbotton | ec135/icp/pfd_pilot ec135/icp/pfd_copilot |
| ICP Arrow Button | Pushbutton | ec135/icp/arrow_1_pilot ec135/icp/arrow_1_copilot |
| ICP Double Arrow Button | Pushbutton | ec135/icp/arrow_2_pilot ec135/icp/arrow_2_copilot |
| ICP NAV Button | Pushbutton | ec135/icp/nav_pilot ec135/icp/nav_copilot |
| ICP EXT Button | Pushbutton | ec135/icp/ext_pilot ec135/icp/ext_copilot |
| ICP Push Baro Rheostat | Pushbutton | ec135/icp/std_pilot ec135/icp/std_copilot |
All circuit breakers implemented in the model are currently only accessible via the writable dataref array rotorsim/ec135/circuit_breaker_array. The table below shows the assignment of the c/b and the index in the array. The value 1 indicates that the c/b is switched on, the value 0 stands for a switched off c/b.
| Array index | Circuit Breaker |
|---|---|
| 0 | VEMD_1 |
| 1 | VEMD_2 |
| 2 | CAD_1 |
| 3 | CAD_2 |
| 4 | WARN_1 |
| 5 | WARN_2 |
| 6 | HYD_P_1 |
| 7 | HYD_P_2 |
| 8 | FUEL_L_1 |
| 9 | FUEL_L_2 |
| 10 | FIRE_E_1 |
| 11 | FIRE_E_2 |
| 12 | INV_1 |
| 13 | INV_2 |
| 14 | FADEC_1 |
| 15 | FADEC_2 |
| 16 | START_1 |
| 17 | START_2 |
| 18 | IGN_1 |
| 19 | IGN_2 |
| 20 | FUEL_V_1 |
| 21 | FUEL_V_2 |
| 22 | FIRE_D_1 |
| 23 | FIRE_D_2 |
| 24 | PRIME_P_1 |
| 25 | PRIME_P_2 |
| 26 | N2_1 |
| 27 | N2_2 |
| 28 | SMOKE_DET |
| 29 | AUX_TANK |
| 30 | XFER_A_PUMP |
| 31 | XFER_F_PUMP |
| 32 | PITOT_HTR_P |
| 33 | PITOT_HTR_CP |
| 34 | ESS_BUS_1 |
| 35 | ESS_BUS_2 |
| 36 | MASTER_1 |
| 37 | MASTER_2 |
| 38 | YAW_SEMA |
| 39 | ROLL_SEMA |
| 40 | WIPER_POWER |
| 41 | WIPER_CONTROL |
| 42 | ROTOR_RPM |
| 43 | DME |
| 44 | PITCH_DUMP |
| 45 | ANTI_COLL |
| 46 | VHF_1 |
| 47 | VHF_2 |
| 48 | ADC_1 |
| 49 | ADC_2 |
| 50 | AHRS_1 |
| 51 | AHRS_2 |
| 52 | TRIM_REL |
| 53 | PR_SAS_DC |
| 54 | PR_SAS_AC |
| 55 | FCDS_1 |
| 56 | FCDS_2 |
| 57 | YAW |
| 58 | PFD_1 |
| 59 | ND_1 |
| 60 | MFD |
| 61 | MAST_MM |
| 62 | GROUND_BAT_CONTROL |
| 63 | GROUND_BAT_POWER_1 |
| 64 | GROUND_BAT_POWER_2 |
| 65 | PFD_2 |
| 66 | ND_2 |
| 67 | TRIM_ACT |
| 68 | POS_LIGHT |
| 69 | LDG_LIGHT_POWER |
| 70 | LDG_LIGHT_CONTROL |
| 71 | SHED_BUS_1 |
| 72 | SHED_BUS_2 |
| 73 | HOR_BAT |
| 74 | RAD_ALT |
| 75 | VOR |
| 76 | NAV_1 |
| 77 | LOAD_HOOK_POWER |
| 78 | LOAD_HOOK_CONTROL |
| 79 | STBY_HOR |
| 80 | GPS_1 |
| 81 | GPS_2 |
| 82 | CKPT_LT |
| 83 | PAX_CARGO |
| 84 | LIGHT_LDG_FIX |
| 85 | INSTR_LT |
| 86 | COMTROL_SX16 |
| 87 | LIGHT_STROBE |
| 88 | WINCH_CC_PL |
| 89 | WINCH_CONT |
| 90 | WINCH_CC_PED |
| 91 | ADF |
| 92 | HTG_MOTOR |
| 93 | HTG_CONT |
| 94 | RH_PASS_VENT_SYS_PWR |
Instruments
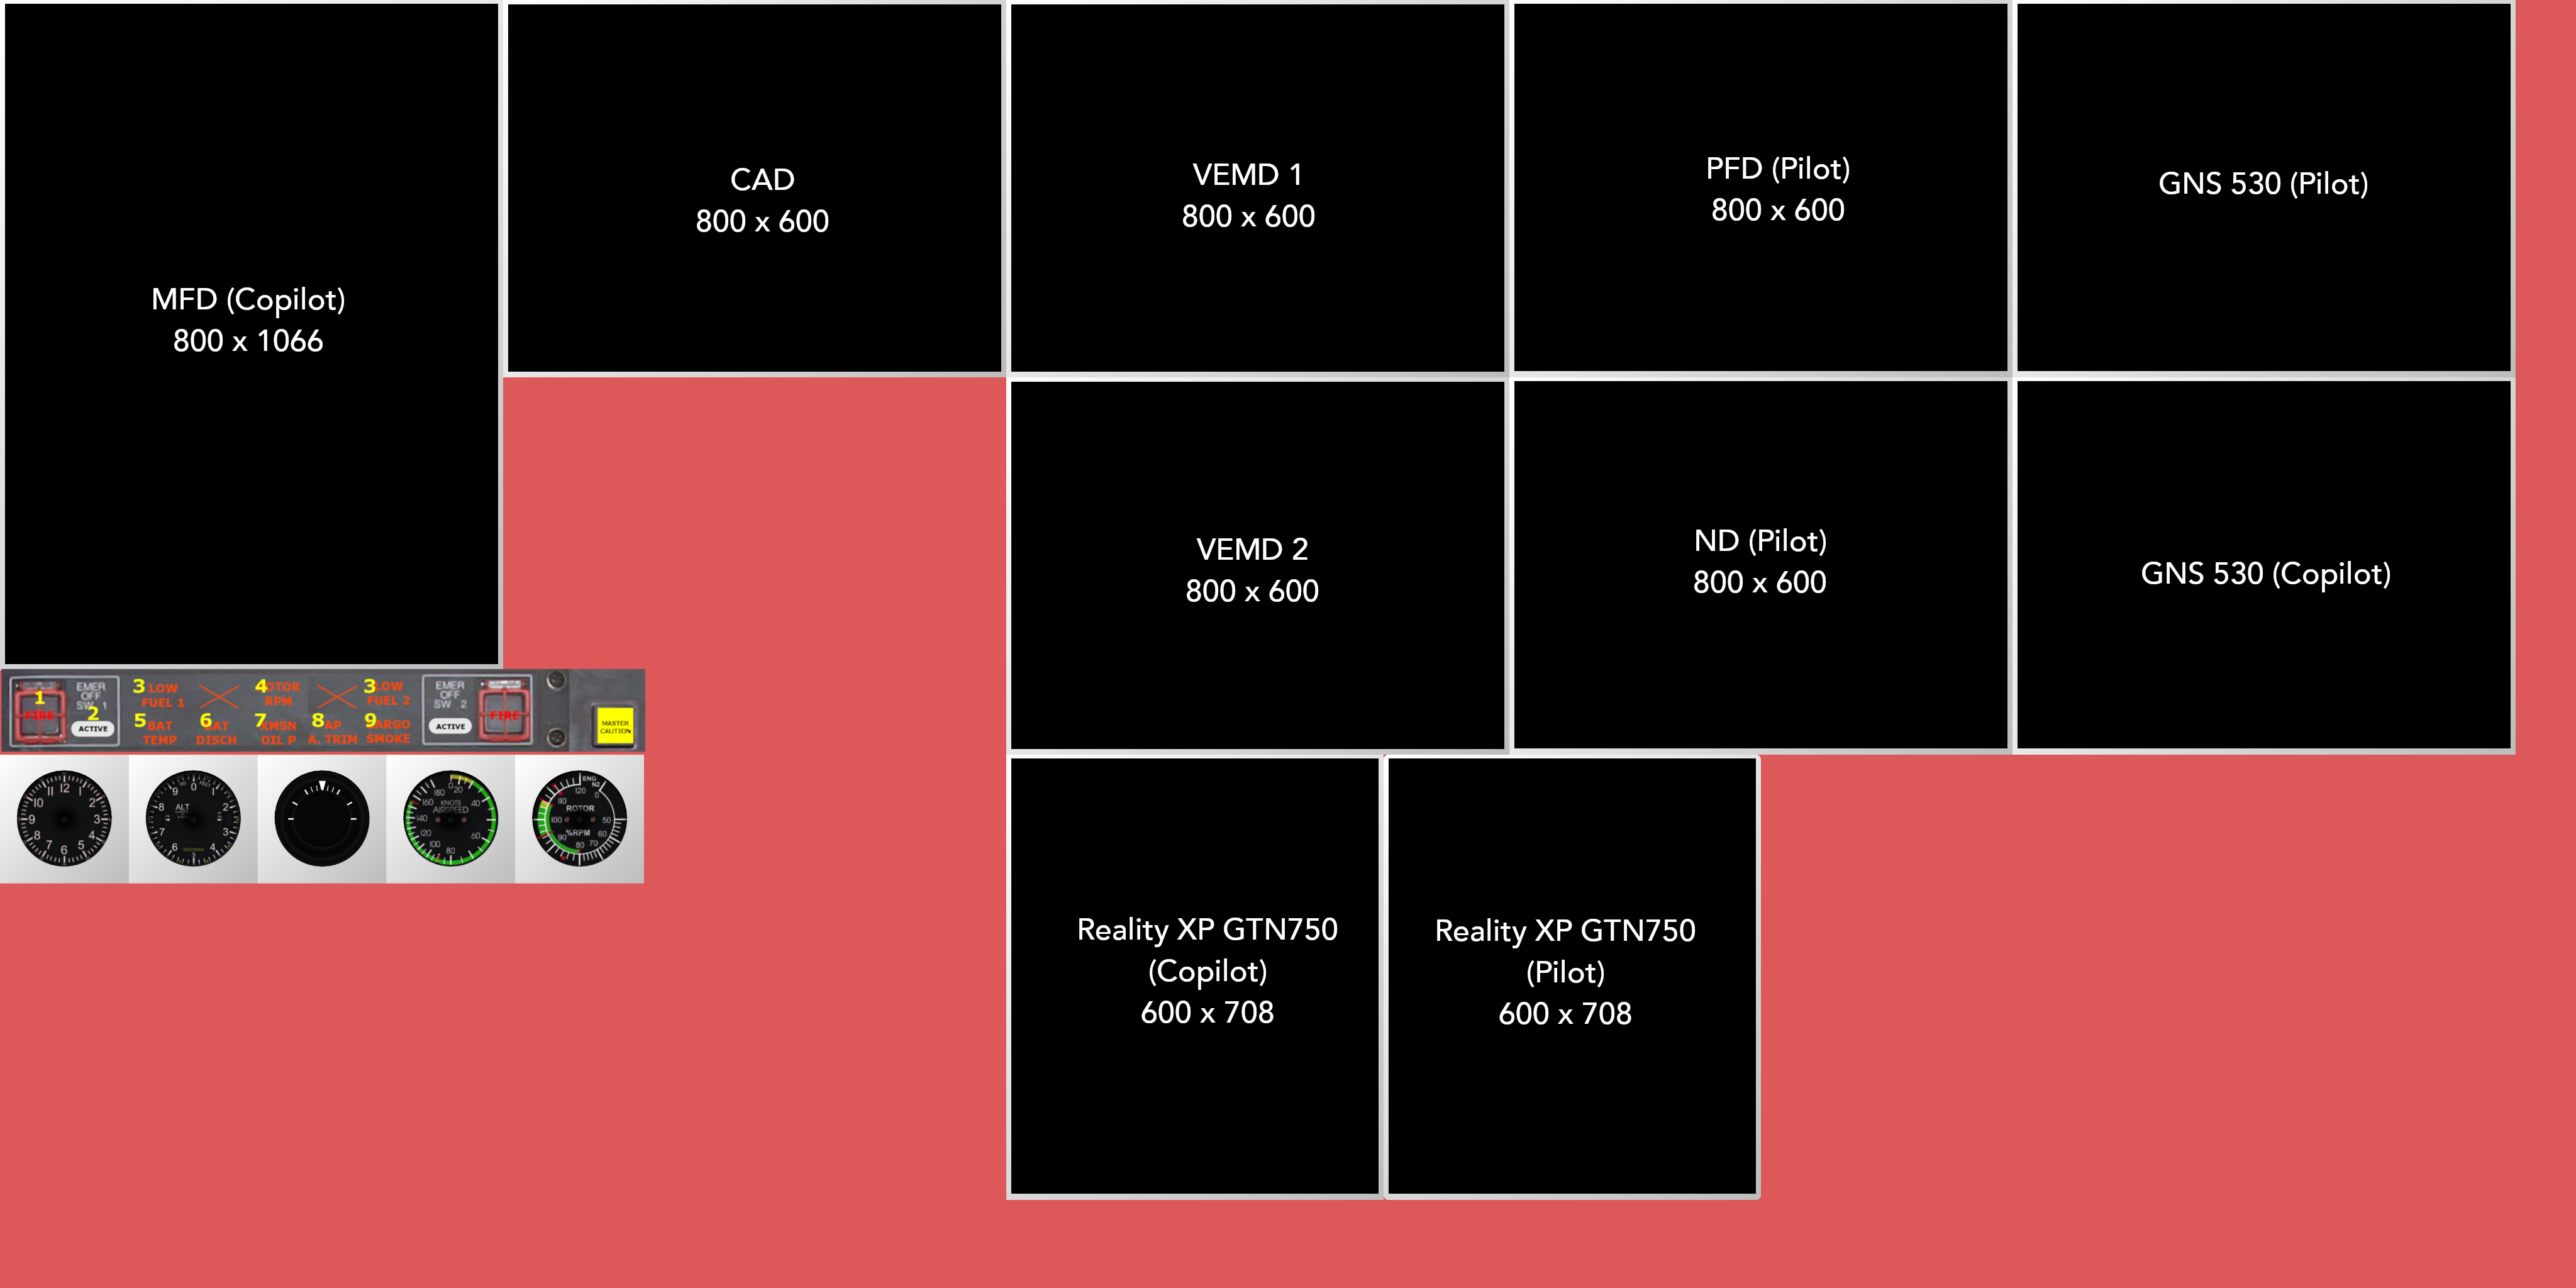
The instruments are displayed via the 2D cockpit. The corresponding view shows all displays in a small space arranged side by side and one below the other. On the hardware side, a separate screen is required for each display. As a rule, it will be necessary to install several graphics cards in the PC in order to have a sufficient number of display connections.
In an ideal cockpit, the analog instruments and the warning lights are represented by real instruments ans lights, but it is also possible to display them directly from the 2D cockpit on a separate screen.
More information will be coming soon.